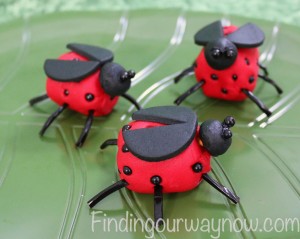
 Gee, you would think I’d get tired of making these marshmallow critters. As I had mentioned in my Marshmallow Caterpillars post, this was inspired after spending time in the garden. So here we go again with my Marshmallow Ladybugs.
Like the other marshmallow critters, these are easy and a blast to make. The ingredients are pretty much the same and again, all you need is a bit of time. The best part is you will love the outcome.
Marshmallow Ladybugs
Ingredients:
- Red fondant (homemade or store-bought)
- Black fondant (homemade or store-bought)
- Black icing
- Pretzel sticks
- Regular size marshmallows
- Licorice strings cut into 1 ½ – 2 inch pieces
- Black candy pearls
Tools:
- Sheet pan
- 1 ½ inch fondant cutter
- Parchment paper or Silpat
- Toothpicks
- Rolling pin bands or pasta maker
- Kitchen shears
Directions:
Ladybugs Body & Head
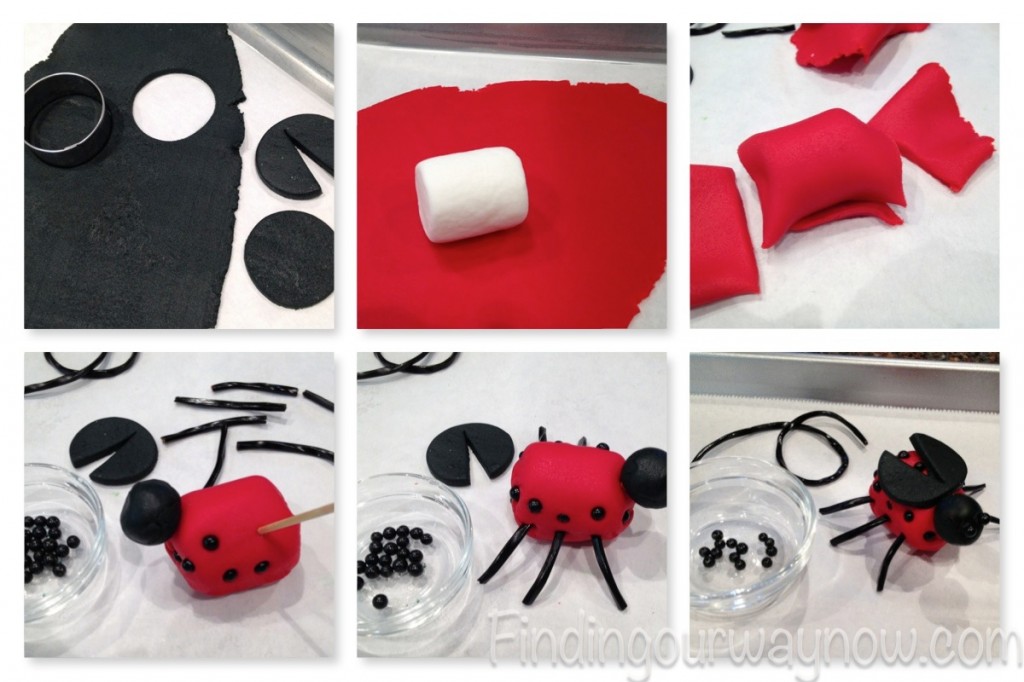
Step One – For the wings, roll out the black fondant. Cut a round of the rolled black fondant with the 1-inch cutter. Cut the circle almost in half leaving it connected at one end. Set aside to let the wings dry until stiff.
Step Two – On Silpat or parchment paper, use a rolling pin with spacer bands to roll out the red fondant to about ¼ inch thickness.
Step Three – For the body of the Ladybugs, place a marshmallow on the piece of the rolled out red fondant and cover. Cut off any exceed and tuck the ends under the base of the marshmallow.
Step Four – Roll a small ball of black fondant to create the Ladybugs head. Insert half of a pretzel stick into the small ball. Using a toothpick, create a hole and then gently connect the head to the body of the Ladybugs.
Step Five – Hold the body in your hand and poke holes in various places equal distance all over the body. Then take the black candy pearls and gently push one into each hole to create spots.
Step Six – For the legs, gently insert 6 1 inch licorice string pieces, 3 on each side of the Ladybug’s body. Now set the body on its legs on the sheet pan.
Ladybugs Finishing Details
Step One–We need to add the eyes. Place two small dabs of black icing on the head and then top the icing with the black pearls.
Step Two – Now the final step. To place the dried wings, place a few dabs of icing on top of the Ladybug’s body and just behind the head and gently press the wings in place.
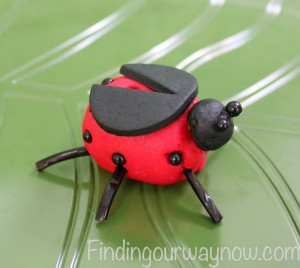
Repeat until you run out of fondant or other supplies. Now you have a nice collection of these cute edible Marshmallow Ladybugs.

Notes: I find that using a pasta maker to roll out the fondant gives me a consistent thickness in a hurry. If you don’t have one of these, you can use a ruler or rolling pin bands. You can decorate your Ladybug’s body any way you want to make some mystery bugs, so have a little fun with it. I use pretzel sticks as a connector so that the whole thing is edible and for the safety of those who dare to eat them. A sheet pan lined with parchment is my tool of choice because it makes for a much easier assembly and cleanup.
 So what do you think of my Marshmallow Ladybugs? Why not give them a whirl? As it is with all my other marshmallow critters, these little guys can be great fun creating them making with kids, any size kid.
I do love making a bunch of packages with all the ingredients, a bit of ribbon, along with a set of instructions to pass out for fun. Enjoy.
Time for some fun, now let’s eat…
If you enjoyed my “Marshmallow Ladybugs,” check out check out my Homemade Fondant or my Marshmallow Caterpillars, Marshmallow Sheep, and Marshmallow Baby Chicks. 🙂