I can remember my grandmother churning cream into homemade butter with an old-fashioned churner. You know the one that had a drum on the floor and plunger that you would push up and down. The thought of making my own homemade butter seemed out of reach and way to much trouble.
That was until I was shown how to make it using a stand mixer. Out came my stand mixer and I gave it a whirl. I was amazed. What a pleasant surprise and boy what an awesome taste.
Now let’s churn up some homemade butter the easy way.
Homemade Butter

Ingredients: Makes approximately ¾ pound or more of butter
- 1-quart heavy whipping cream
- 1 teaspoon Kosher salt (For Sweet Butter omit the salt)
Directions:
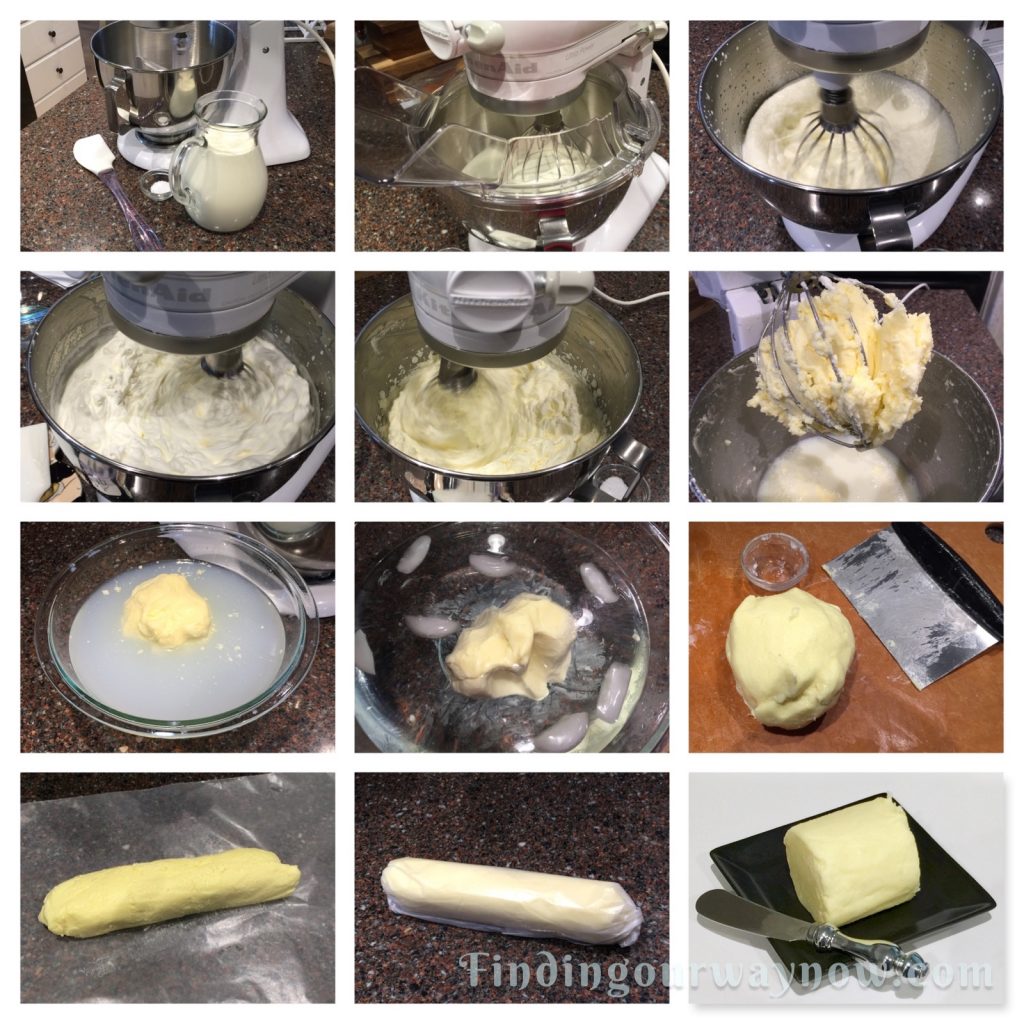
Using a stand mixer with a cool, clean bowl, a whisk attachment, and a splashguard. Place the cream in the bowl and whisk on medium speed.
Once the cream reaches the separation point, it will quickly turn from creamy white to a buttery yellow. At this stage reduce the speed a bit and keep an eye on it. In a very short while, the butterfat solids will separate from the buttermilk, clumping in the tines of the whisk. This process will take approximately 10 to 12 minutes.
Remove the whisk with the butter and place it in the bowl of cold water, Remove the butter from the tines and squeeze out as much the liquid as possible. Continue to squeeze the butter with your hands for several minutes under the water. Discard the milky water and replace it with clean ice-cold water, repeating the process until the liquid squeezed out of the butter runs clear. Once that happens, remove the butter from the water and squeeze it again to remove any excess liquid. If needed, remove any excess water from the surface with paper towels.
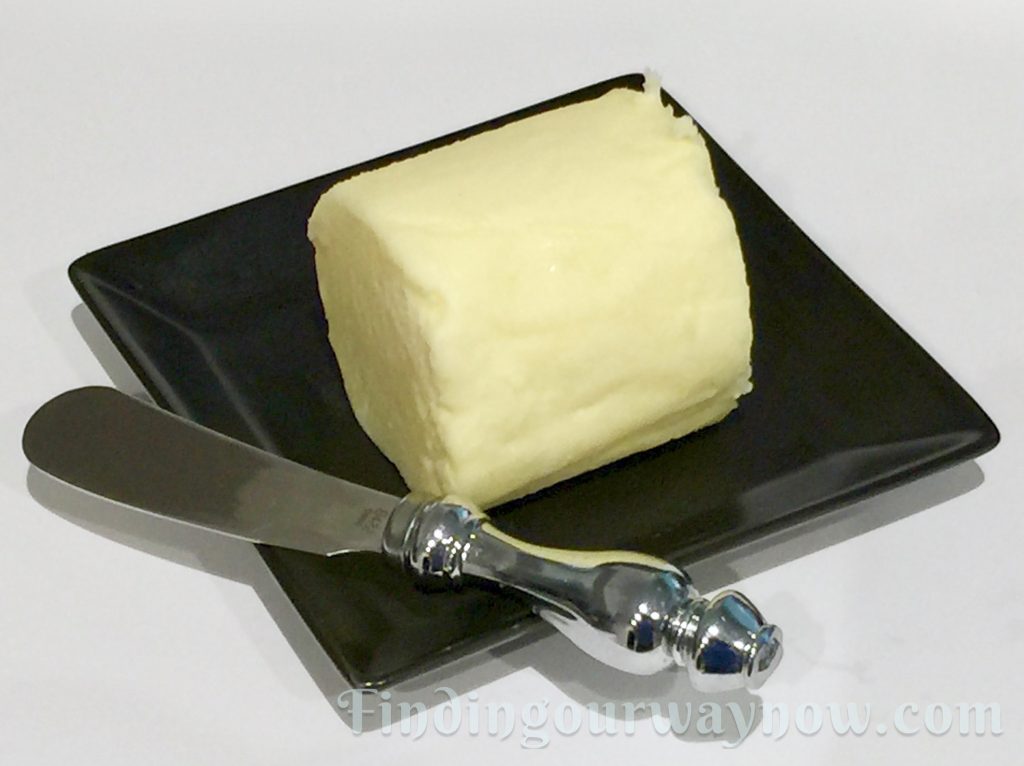
Place the cold butter on a clean surface. Using a scraper, thoroughly knead in the salt. Shape the butter into a log, then wrap it tightly with the wax paper, then plastic wrap and chill in the refrigerator. Your homemade butter is ready to use. Keep it refrigerated for up to 3 to 4 weeks, if it lasts that long.

Notes: If you use table salt, reduce the amount by a third or in half. Iodized or table salt is much stronger and could make your butter saltier than most people would like. If desired you can divide the log of butter into three to four equal parts. I usually cut off a round of butter, as I need it. Any good quality cream will do just fine. Make sure it’s fresh and not close to its expiration date.
Removing as much of the buttermilk as possible is critical. Otherwise, the butter will sour in a few days. If you’ve taken the time to make this homemade butter, don’t freeze it. It will lose a good amount of flavor. One last thing, make sure to use the splashguard at the beginning and when the cream turns yellow or you might get splatter everywhere, particularly at the end; doing that will save you a good deal of clean up.
Variations: There are a ton of variations. Below are just a few suggestions.
- Herb Butter: knead in 2 tablespoons of finely diced fresh herbs of your choice into the butter.
- Garlic Butter: knead in 2 cloves of finely diced garlic into the butter.

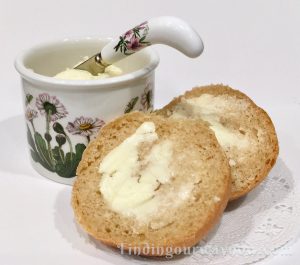
How easy is that? This homemade butter recipe is one anyone can make. The fun part is the wow effect you can provide when you serve it to guests with some homemade biscuits or Whole Wheat Rolls.
Now, I’m off to make my homemade Crème Fraiche. It’s a fun recipe anyone can make.
Time to eat…
P.S. Take a moment to check out my recipe booklet’s for sale on this site and purchase some of the tools I used for this “Homemade Butter” below. 🙂