My “How I Draw On My iPad” series, Part 1, Part 2 and Part 3, have been very popular. Now let me give another “How I Draw On My iPad-Part 4” as part of my ongoing series. There has since been some updates to theiDraw vector-drawing tool for the iPad that have greatly enhanced my ability to do some fun art projects for my blog and blog articles.
I had promised to add other demonstrations from time to time. Not to disappoint, here is the newest demonstration I’ve created for you called “Creating A Still Life Fruit Bowl” using the iDraw vector drawing tool. So with no further delay let’s begin.
How I Draw On My iPad-Part 4 “Creating A Still Life Fruit Bowl”
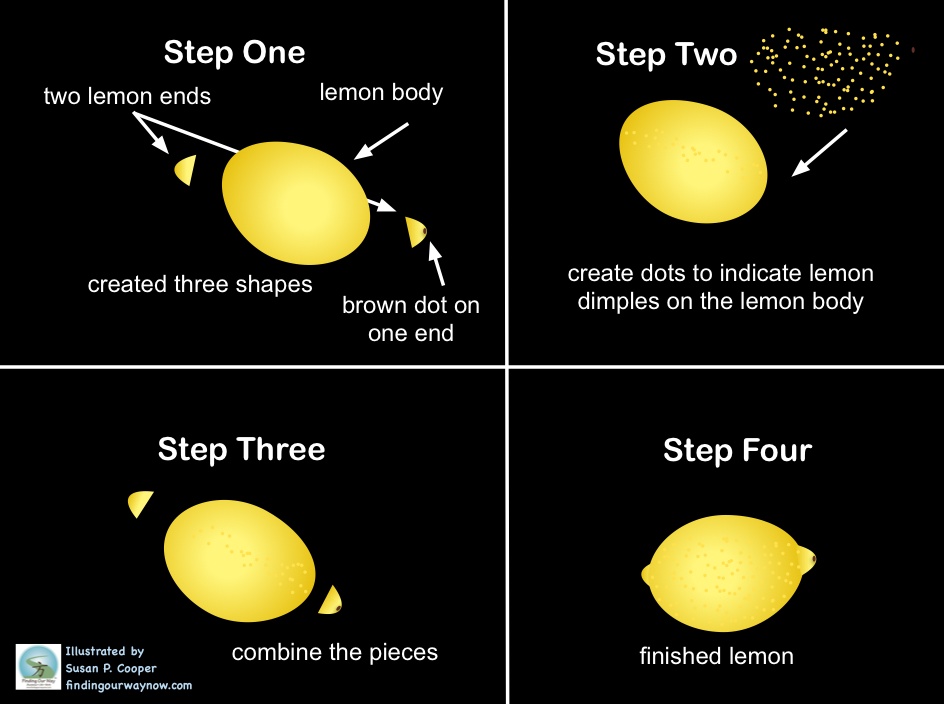
In order to draw a bowl of fruit I first need to create each piece of fruit to insert or use at different times. Below is an example of a lemon and how I created it to use at a later time in my demonstration.
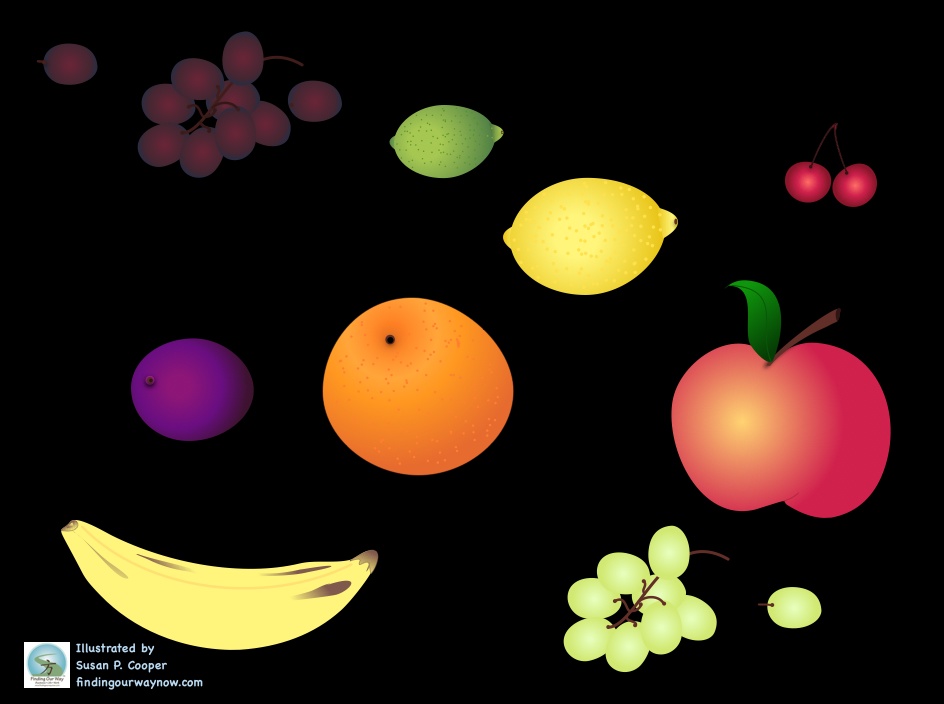
I used the same process to create different fruit images that I will use in my project and my final piece. Below you will find the various fruit images I created for this project.
I used the gradient fill and radial tools to create a sense of being round. I added dots and lines to give each fruit image a more realistic appearance. These were really fun to make. Each of these images can be copied, pasted and moved to a desired location. That is one of the many advantages of a vector drawing tool.
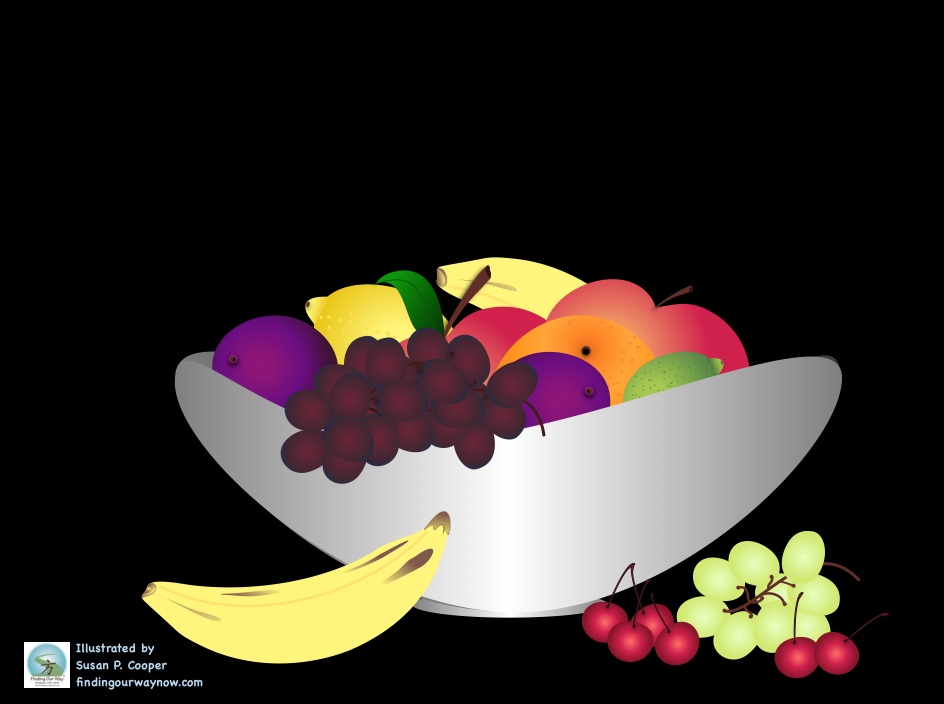
Once I have the fruit images designed, I start building my “Still Life Fruit Bowl”. It’s important to note that I used 12 layers in this demonstration, .
Layer 1
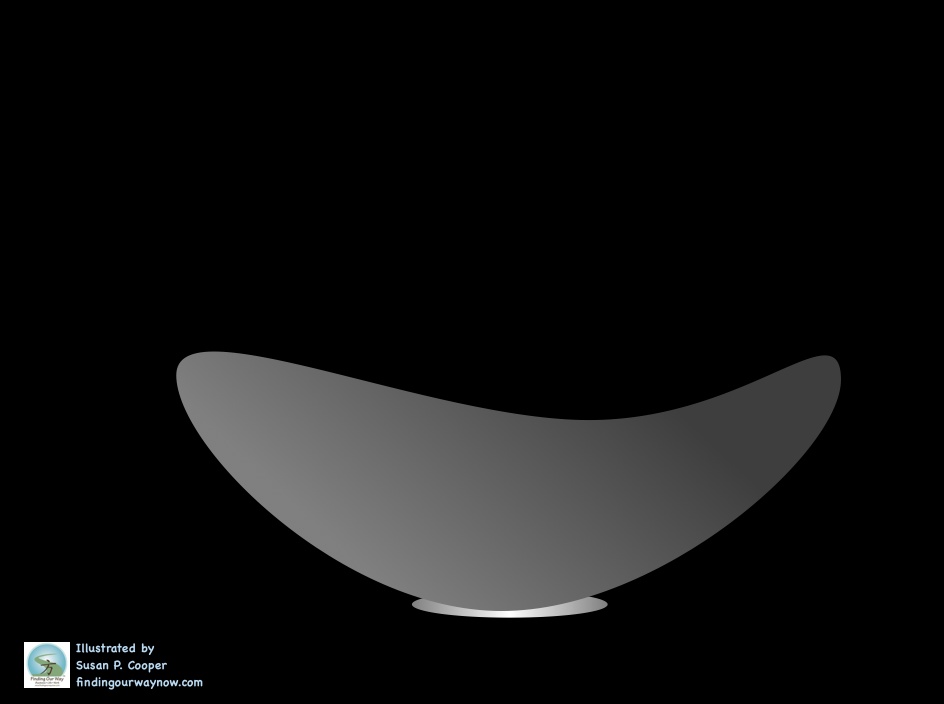
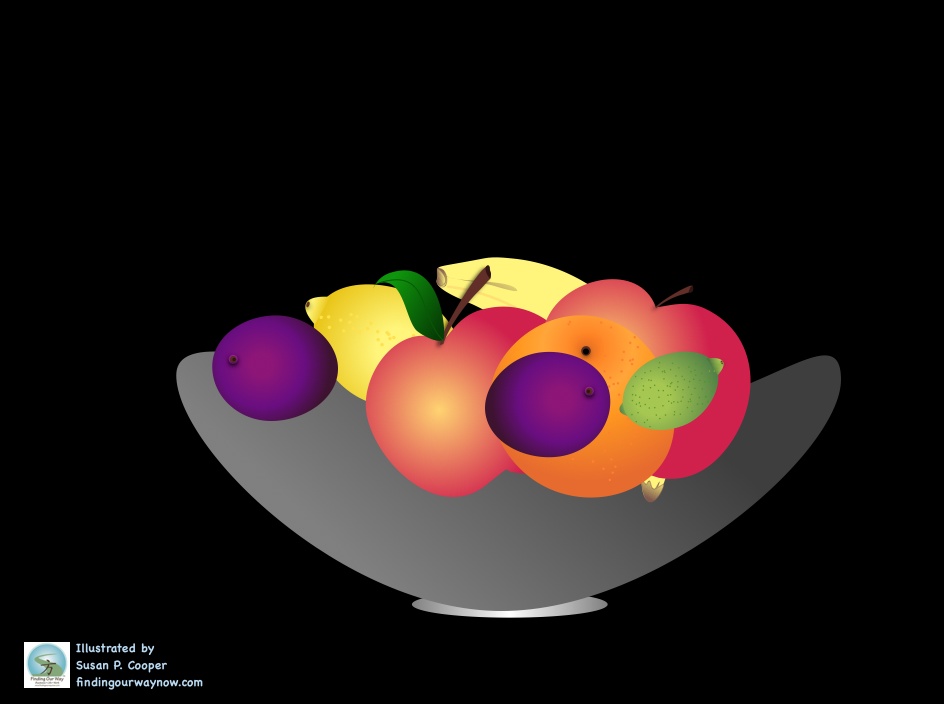
I first made a decision as to what color background I wanted. I chose black to provide a great contrast and to show off the fruit images. I then created a shape for the back of the bowl. I will use that same shape only in reverse, with a brighter color for the front of the bowl later on to give the appearance of shiny silver metal. I will use the same gradient tool but with the linear instead of the radial tool.
Layer 2
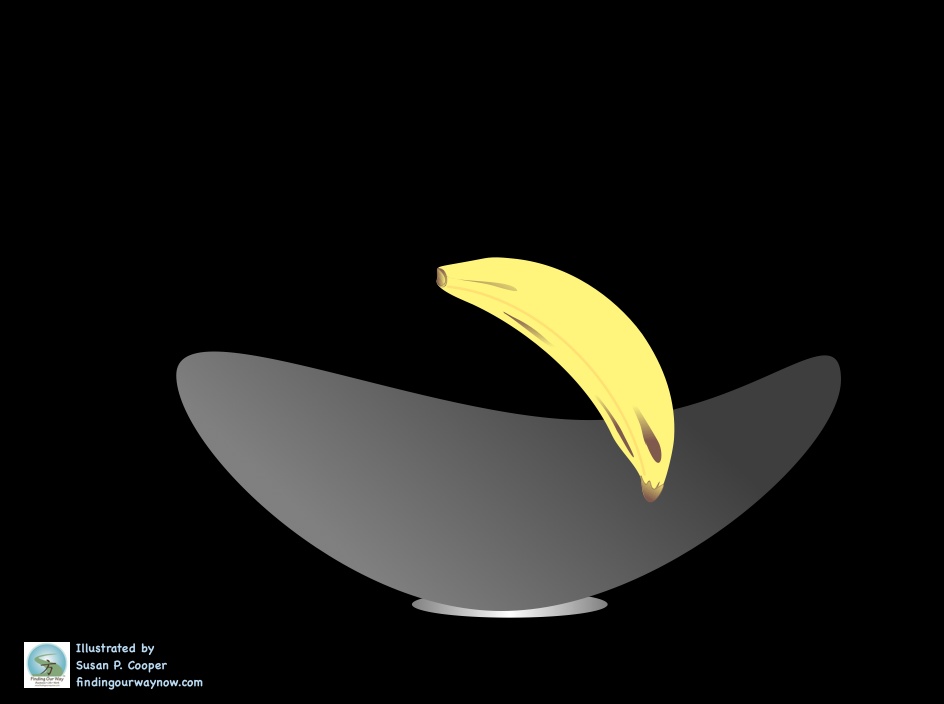
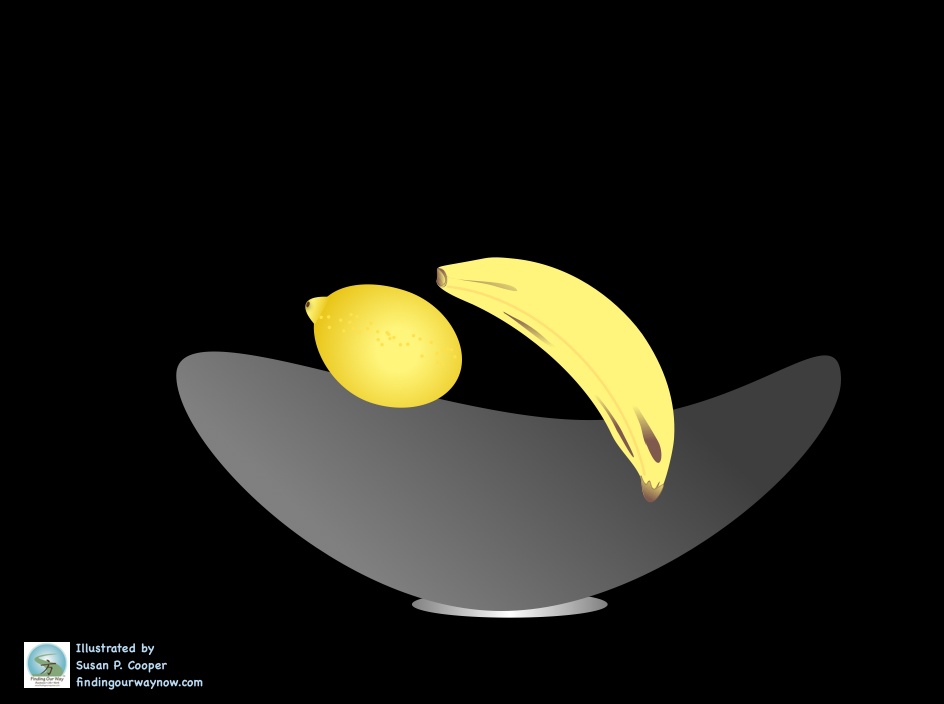
Next I will start adding my fruit images, one layer at a time. I will copy and past each fruit image one at a time and move them into the desired position. The reason I paste each image I select in a different layer is because it allows me the opportunity to go back and move it to a different location if I so choose or remove it and replace it with a different image.
I will start by adding my banana image.
Layer 3
I’ll just keep adding my images one layer at a time. Now I will add my lemon image.
Layer 4
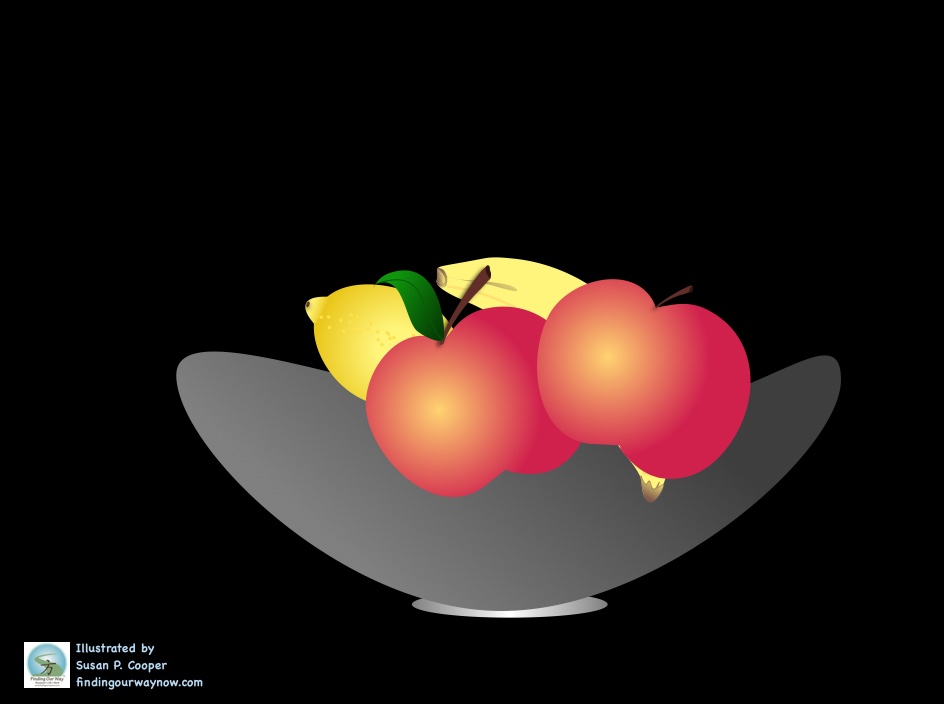
I think two apple images would fun. You can see I added two. I copied and pasted one next to the other, overlapping them just a bit.
Layer 5
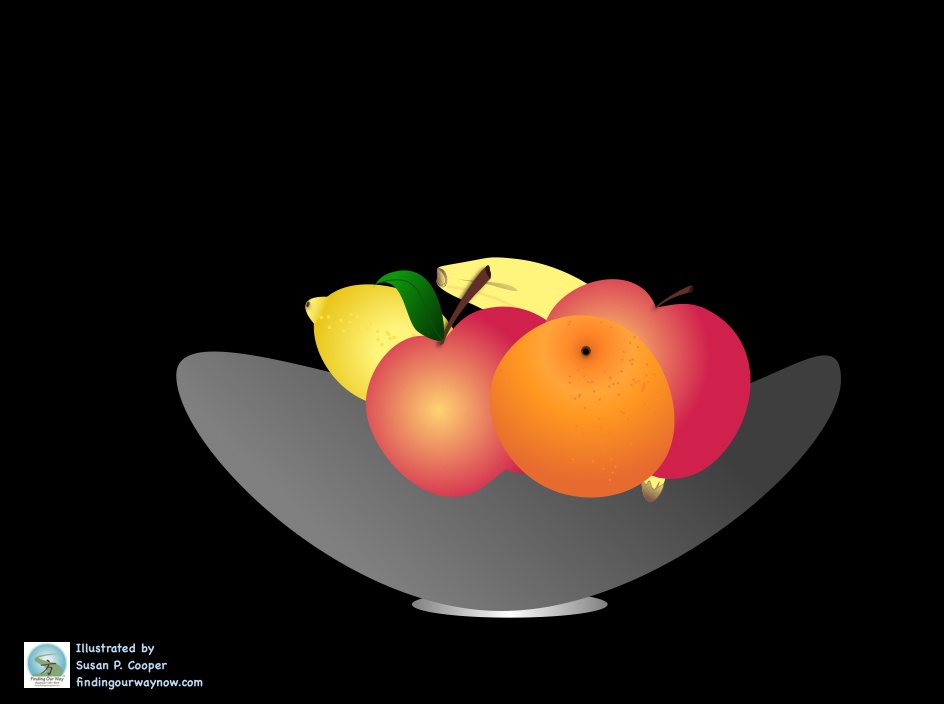
Next I will add an orange image.
Layer 6
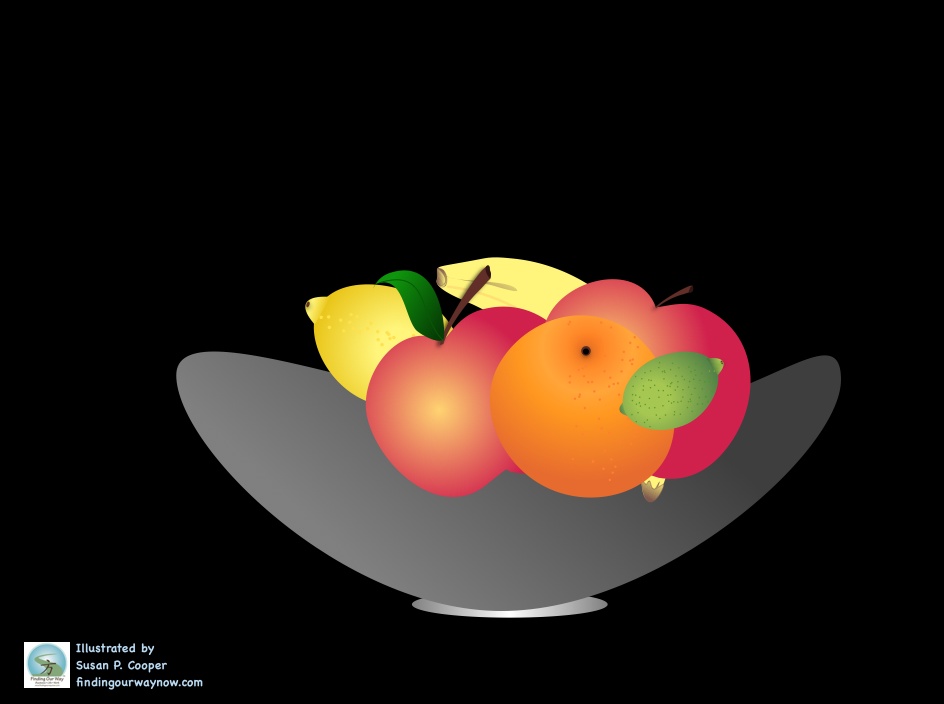
Ok. How about a lime image.
Layer 7
Now comes my two plum images
Layer 8
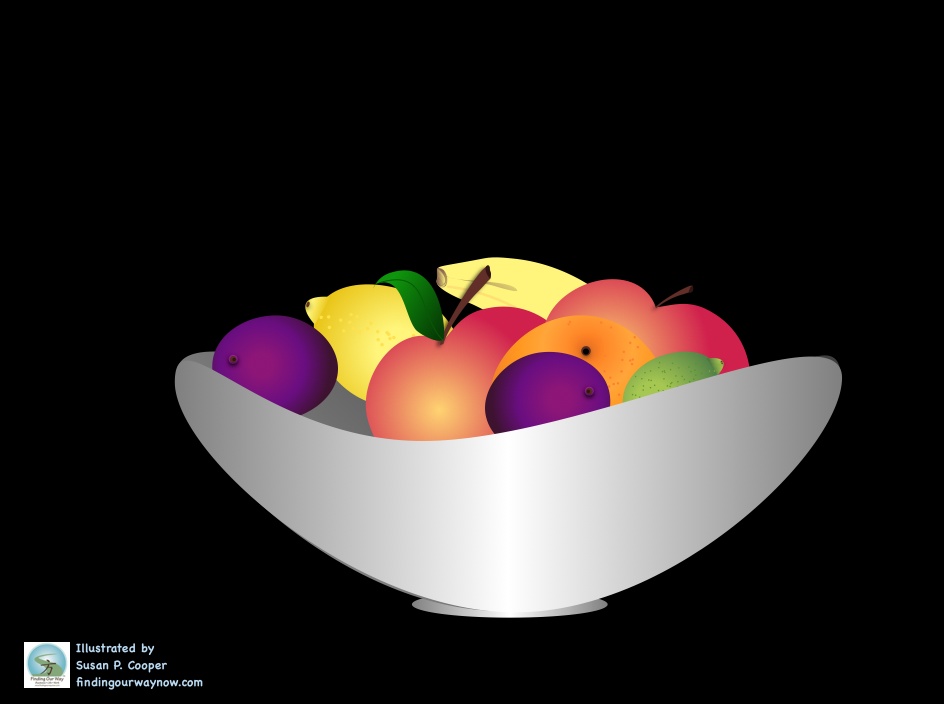
This is the time I add the front of the bowl. Notice the shape is the same as the back image, but in reverse and with a color change? See how my “Still Life Fruit Bowl” is starting to take shape?
Layer 9
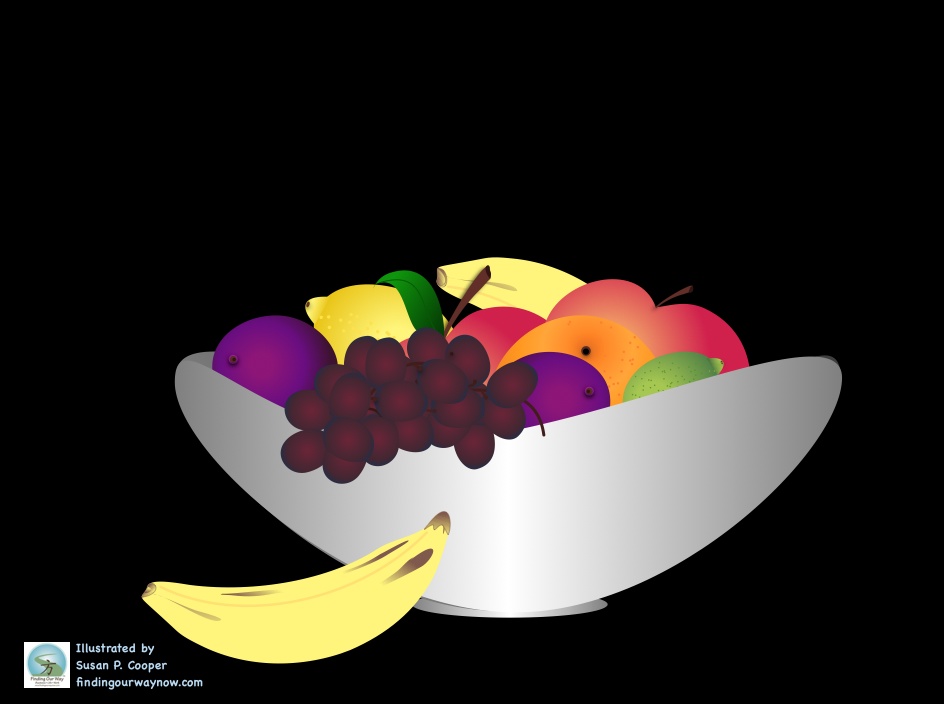
The grape images are now added to the side of the bowl.
Layer 10
I thought it would be fun to add another banana on the outside of the bowl.
Layer 11
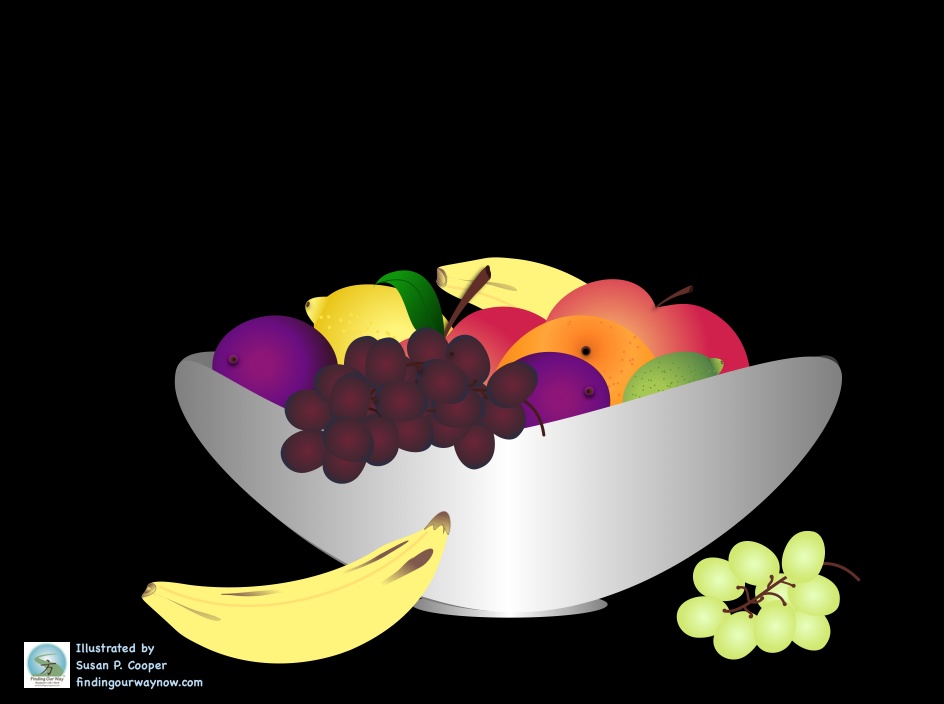
The white grape images are added next.
Layer 12
The final touch will be some cherries.
So what do you think? Do you like the finished piece?
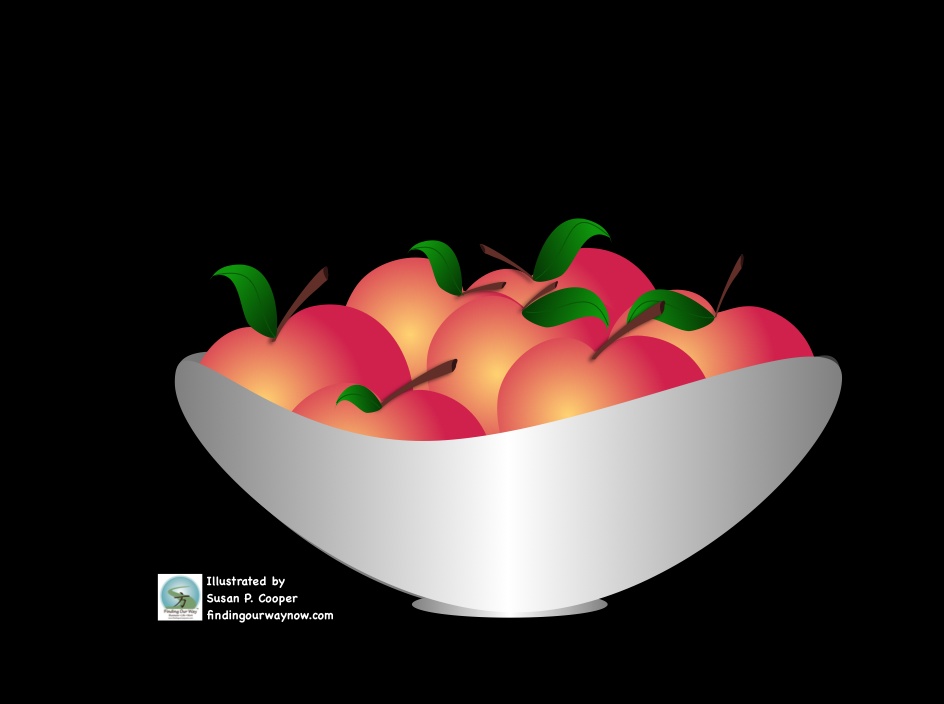
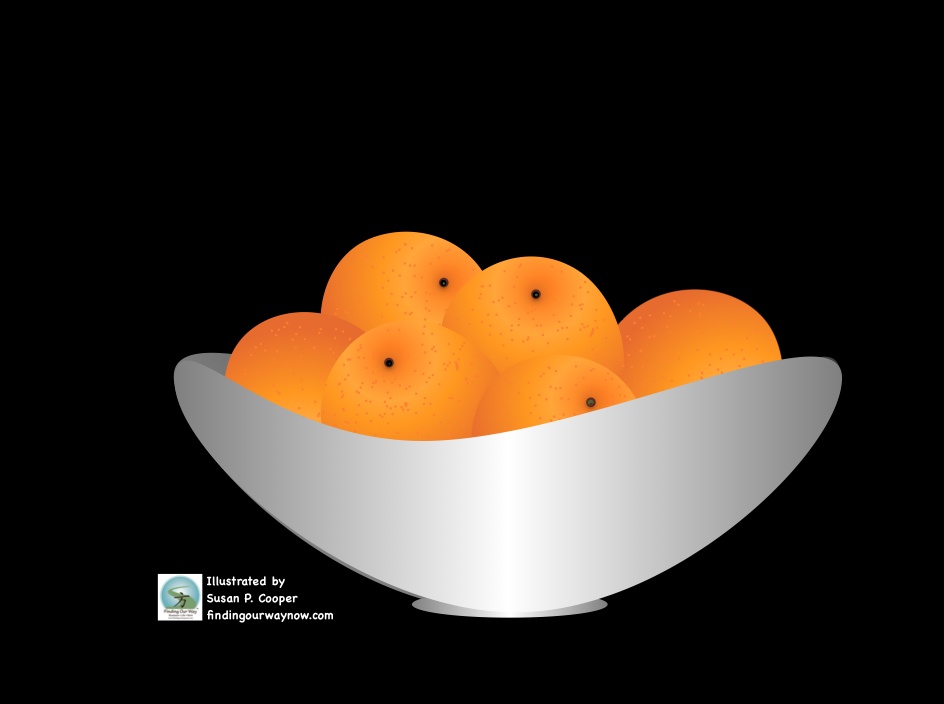
Notes: You can change the background color at any time in the creative process. I will use the shadowing tool to give some areas of the fruit images a sense of depth and dimension. Using this same process, you can create bowls of the same kind of fruit. Such as the bowls of apples or oranges I have shown you below.
I hope you have enjoyed my demonstration. If you have any thoughts, observations or questions, please leave a comment below. 🙂
Now let’s go draw something…
PS: If you liked this, check out my other “How I Draw On My iPad” series, Part 2, Part 3, Part 5, Part 6, Part 7, Part 8 and Part 9.
