How I Draw On My iPad-Part 3
A Simple Flower
This is the How I Draw On My iPad-Part 3 and the very first of my demonstrations. I will now demonstrate how I create a simple flower art piece using my iPad, Stylus and the iDraw App.
Now let’s begin
I will use 7 layers to demonstrate and create this simple flower drawing. (The more complicated the art piece the more layers and blending of layers I will use).
The 1st layer is the canvas or background. I start with a light blue and gradate to a dark green to add interest, depth, perspective and definition.
The 2nd layer is the first part of the drawing or foundation. In this case, using the pencil tool, I will make a decision where to place the stems of the plant and what shape and size I want them to be.
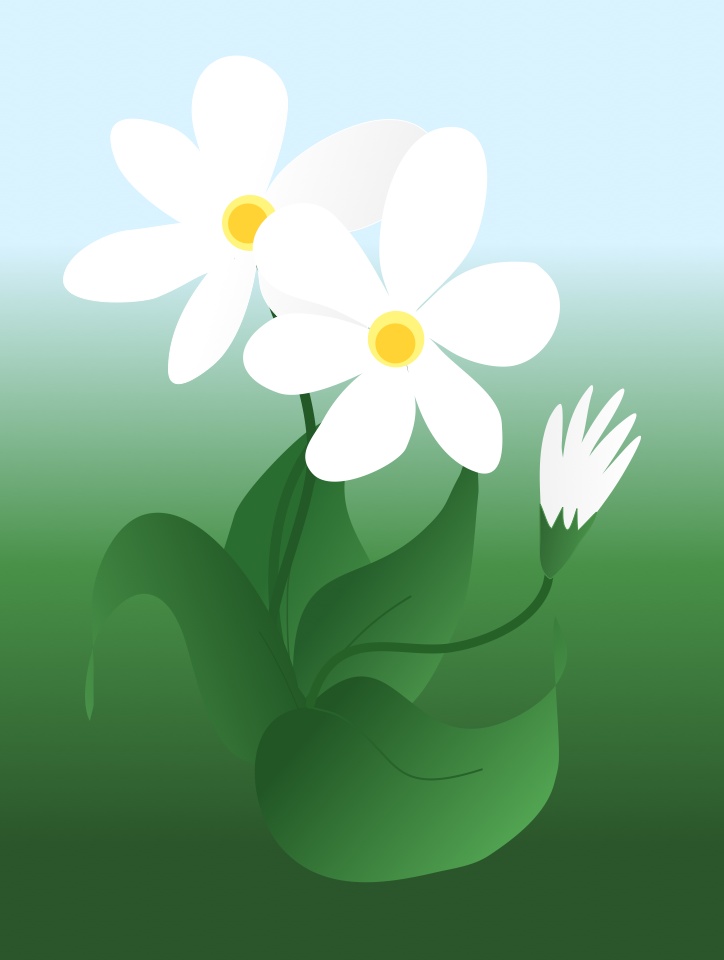
I continue building on the foundation in layer 3. The leaves are next. I decide what shape I wish them to be and use the pencil, fill and gradation tools with various shades of green, to to give the leaves a three dimensional quality, depth and definition to help bring the leaves to life.
Layer 4 is when the drawing starts of take shape. The flower pedals are next. Using the pencil, fill and gradation tools, I decide what shape and color I want the peddles to be, placing them at the end of the stems I drew earlier. I use a white to very light touch of gray gradation to give them perspective, depth, definition and life.
I start to add more detail in layer 5, such as the flower centers. I again use the pencil and sizing tool to add two dots of different colors of yellow. These are the details that will start to bring the flower to life.
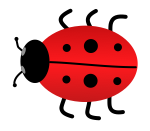
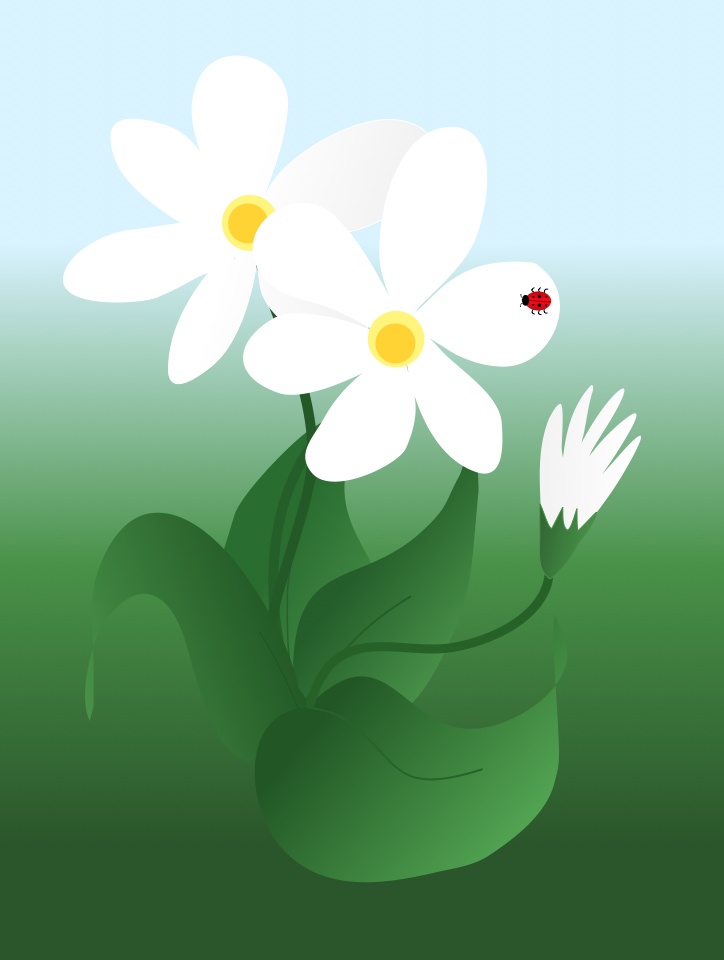
The 6th layer is where I add some unexpected details, such as the ladybug. The ladybug is the finishing detail that gives the art piece a little whimsy an d fun. To make the lady bug I use the pencil, circle, fill and gradations tools.
Sometimes I will create a feature, like the ladybug on a different page or canvas then copy what I have created, and then paste and move the feature to where I want it to be on another art piece on another page/canvas.
The last thing I add is my signature/watermark to my finished piece, using the text tool.
That’s it, we’re finished creating a simple flower.
I’ll now upload the finished piece to my Dropbox app. This will allow me to store the finished piece for use it at a later date as a piece of art in one of my blog posts.
At times, I’ll upload an unfinished piece to access on my desktop or iPad to make any changes I may need or to refine the piece when time permits.
Now I’ll turn it over to you. With a little practice and patience you too can have a great deal of fun and make your own flower creation.
Now let’s go draw something…


